

Types of Jobs
Jobs can be triggered in a number of ways, most commonly in response to user activity. Jobs are then managed via Listeners, which receive Events published by Flatfile in response to activity. There are three types of Jobs on the Flatfile Platform:Action Jobs
Attached to custom actions
Custom Jobs
Created dynamically in your listener
System Jobs
Flatfile system jobs
Action Based Jobs
Actions are developer-defined operations that can be mounted on a number of domains (including Sheets, Workbooks, Documents, and Files). Mounting an Action means attaching a custom operation to that domain. That operation can then be triggered by a user event (clicking a button or selecting a menu item).When an Action is triggered a
job:ready Event for a Job named
[domain]:[operation] is published. Your Listener
can then be configured to respond to that Action via it’s Event.javascript
javascript
job:ready event, for the workbook:export Job, which was defined in our Workbook.
Custom Jobs
Another trigger option is to create a Custom Job via SDK/API. In the SDK, Jobs are created by calling theapi.jobs.create() method.
Creating a custom Job in your Listener enables any Event to trigger a Job.
Here’s an example of creating a custom Job in a Listener:
javascript
javascript
System Jobs
Internally, Flatfile uses Jobs to power many of the features of the Flatfile Platform, such as extraction, record mutation, and AI Assist. Here are some examples of Jobs that the Flatfile Platform creates and manages on your behalf:The
space:configure Job is the only system-level Job published for developer
consumption. This is a special Job that allows developers to configure their
Spaces dynamically. See our Space
Configuration documentation for more
information.The Anatomy of a Job
Lifecycle Events
Jobs fire the following Events during their lifecycle. In chronological order, the Job Events are:
You can listen on any of these events in your Listener, but the most common event to listen for is
job:ready.
For more on managing your Job see Working with Jobs.
Required Parameters
string
required
Workbook, File, Sheet, Space
string
required
export, extract, map, delete, etcstring
required
The id of the data source (FileId, WorkbookId, or SheetId)
Optional Parameters
string
manual or immediatestring
The id of the data target (if any)
string
created, planning, scheduled, ready, executing, complete,
failed, cancellednumber
A numerical or percentage value indicating the completion status of the Job.
date
An estimated completion time. The UI will display the estimated processing
time in the foreground Job overlay.
object
string
Input parameters for the Job type.
object
object
string
Additional information regarding the Job’s current status.
string
Indicates whether the Job is managed by the Flatfile platform or not.
string
foreground, background, toolbarBlockingWorking with Jobs
Jobs can be managed via SDK/API. For a complete list of ways to interact with Jobs please see our API Reference . Commonly, Jobs are acknowledged, progressed, and then completed, or failed. Here’s look at those steps.You can also use the JobHandler Plugin which
simplifies the handling of Flatfile Jobs. This plugin works by listening to
the
job:ready event and executing the handler callback. There is an optional
tick function which updates the Job’s progress.Jobs.Ack
First, acknowledge a Job. This will update the Job’s status toexecuting.
javascript
Jobs.Update
Once a Job is acknowledged, you can begin running your custom operation. Jobs were designed to handle large processing loads, but you can easily update your user by updating the Job with a progress value.javascript
Progress is a numerical or percentage value indicating the completion status of the work.
You may also provide an estimatedCompletionAt value which will display your estimate of the remaining processing time in the foreground Job overlay.
Additionally, the Jobs Panel will share visibility into the estimated remaining time for acknowledged jobs.
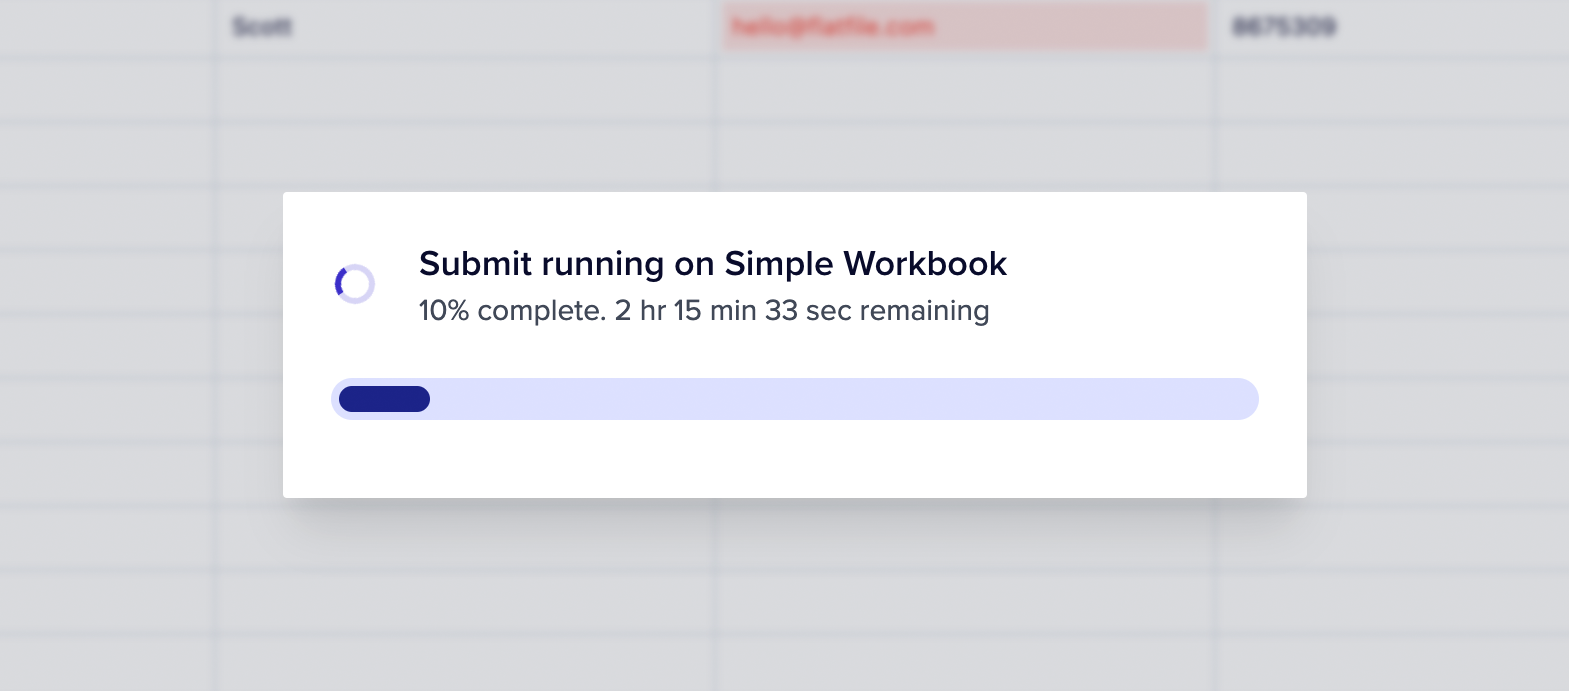 Finally, when your Job is complete, update the Job’s status to
 complete. This status update includes an optional outcome message which will be displayed to the user.
Use this to provide detail on the outcome of the Job.
Jobs.Complete
Once a job is complete, you can display an alert to the end user usingoutcome.
javascript
Next Links
Optionally, you can add a button to the outcome dialog to control the next step in the workflow once job has finished.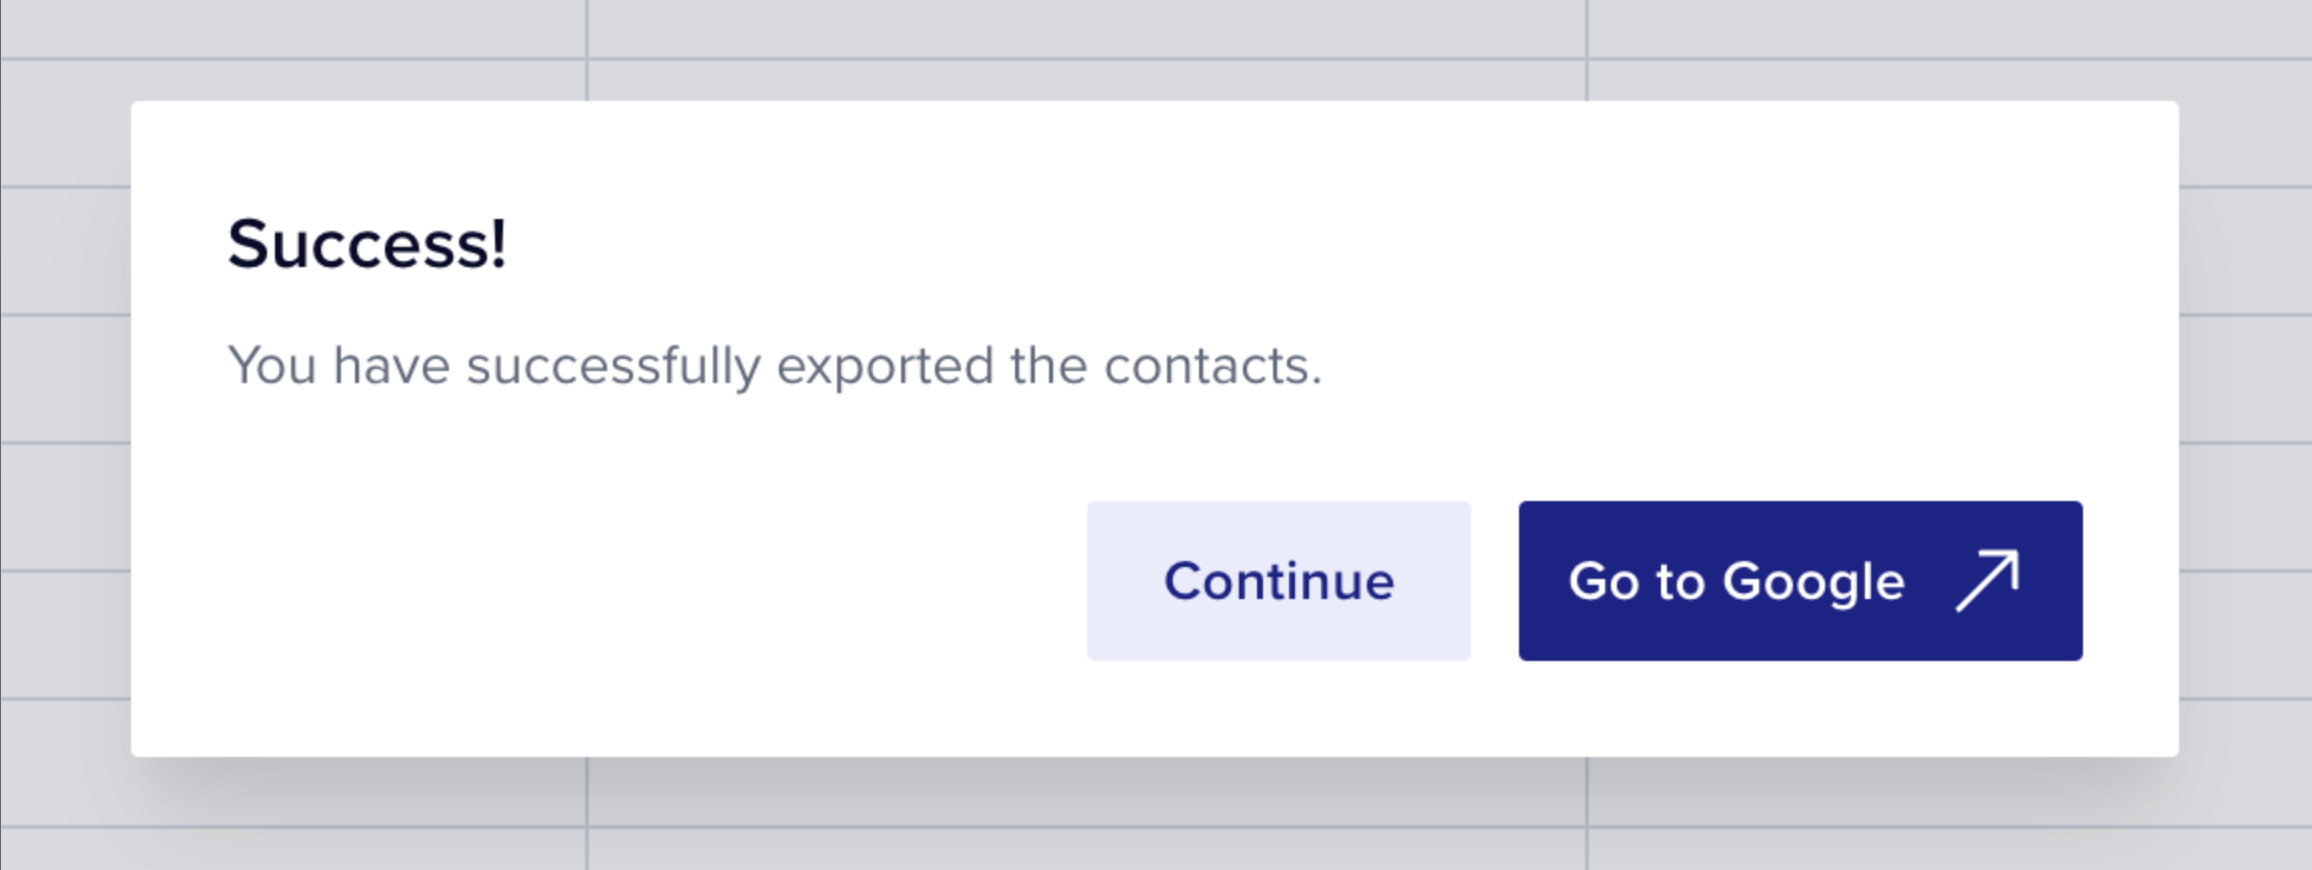
Internal Link
Add a button to the dialog that will redirect the user somewhere within a Space usingnext > Id.
In this code below, we will create a button that says “See all downloads” with this path: space/us_sp_1234/files?mode=export
javascript
External Url
Add a button to the dialog that will redirect the user to an external link usingnext > Url.
In this code below, we will create a button that says “Go to Google”. It will open in a new tab.
javascript
Download
Add a button to the dialog that will redirect the user to an external link usingnext > Url.
In this code below, we will create a button that says “Download this file”.
javascript
Retry
Often in the event of a failure, you may want to add a button to the dialog that will retry the Job usingnext > Retry.
In this code below, we will create a button that says “Retry”.
javascript